
Guides
How to recognize a product before buying it
The photo on the acquisition screen helps you recognize the product you need. Check its name and saved images before recording a purchase in Invemory.
Last checked:
What you need
- Sign in and prepare a shopping request in your basket.
- The shopping request needs saved photos to show a gallery.
1. Open the shopping request for acquisition
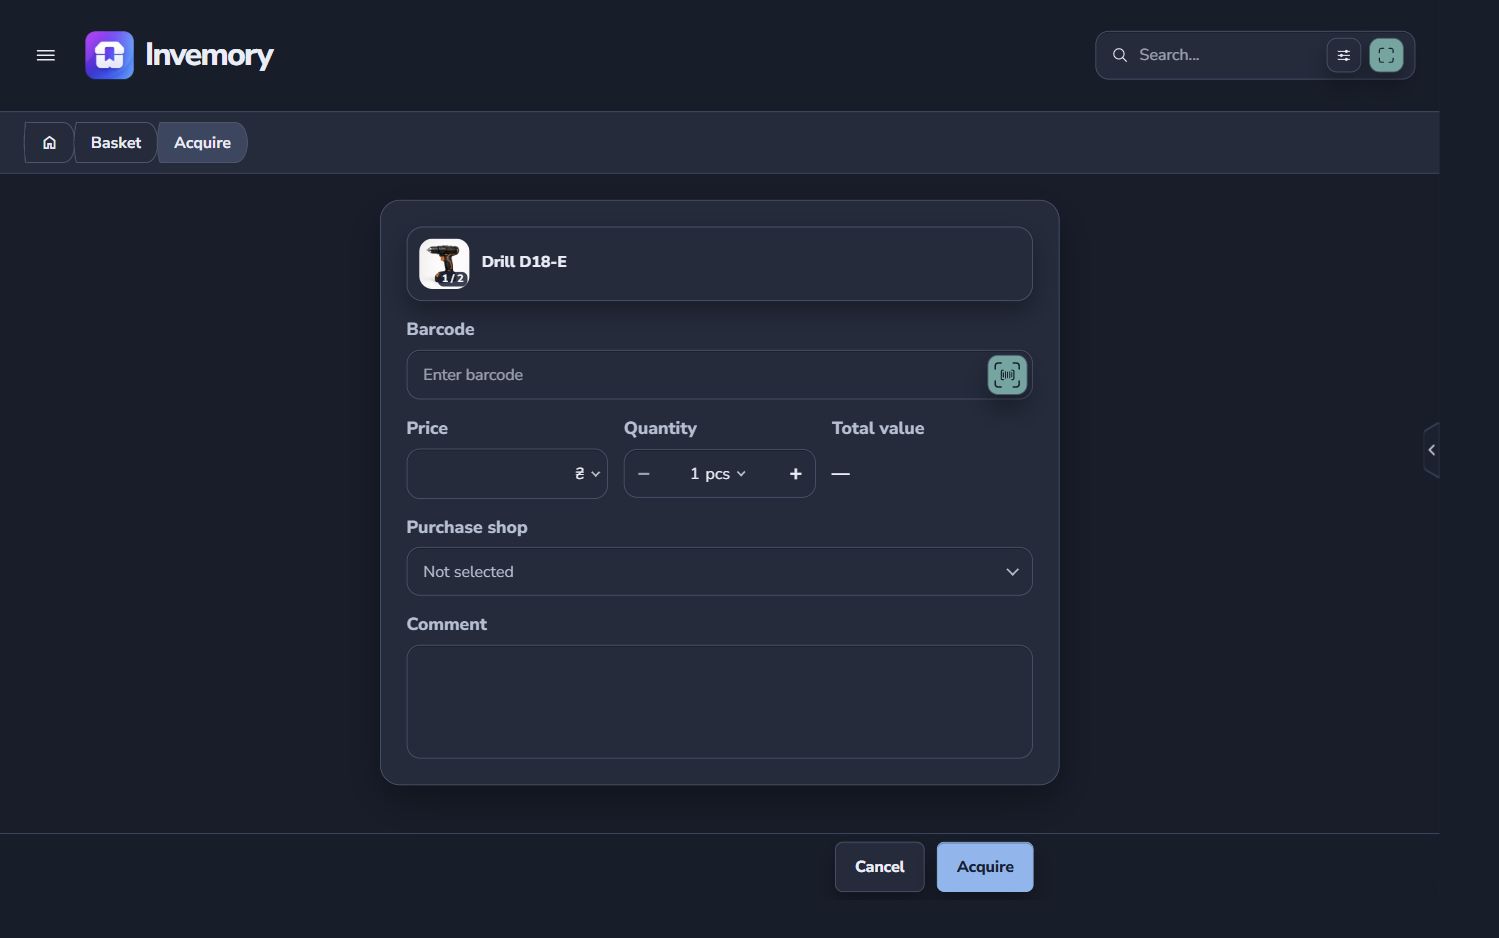
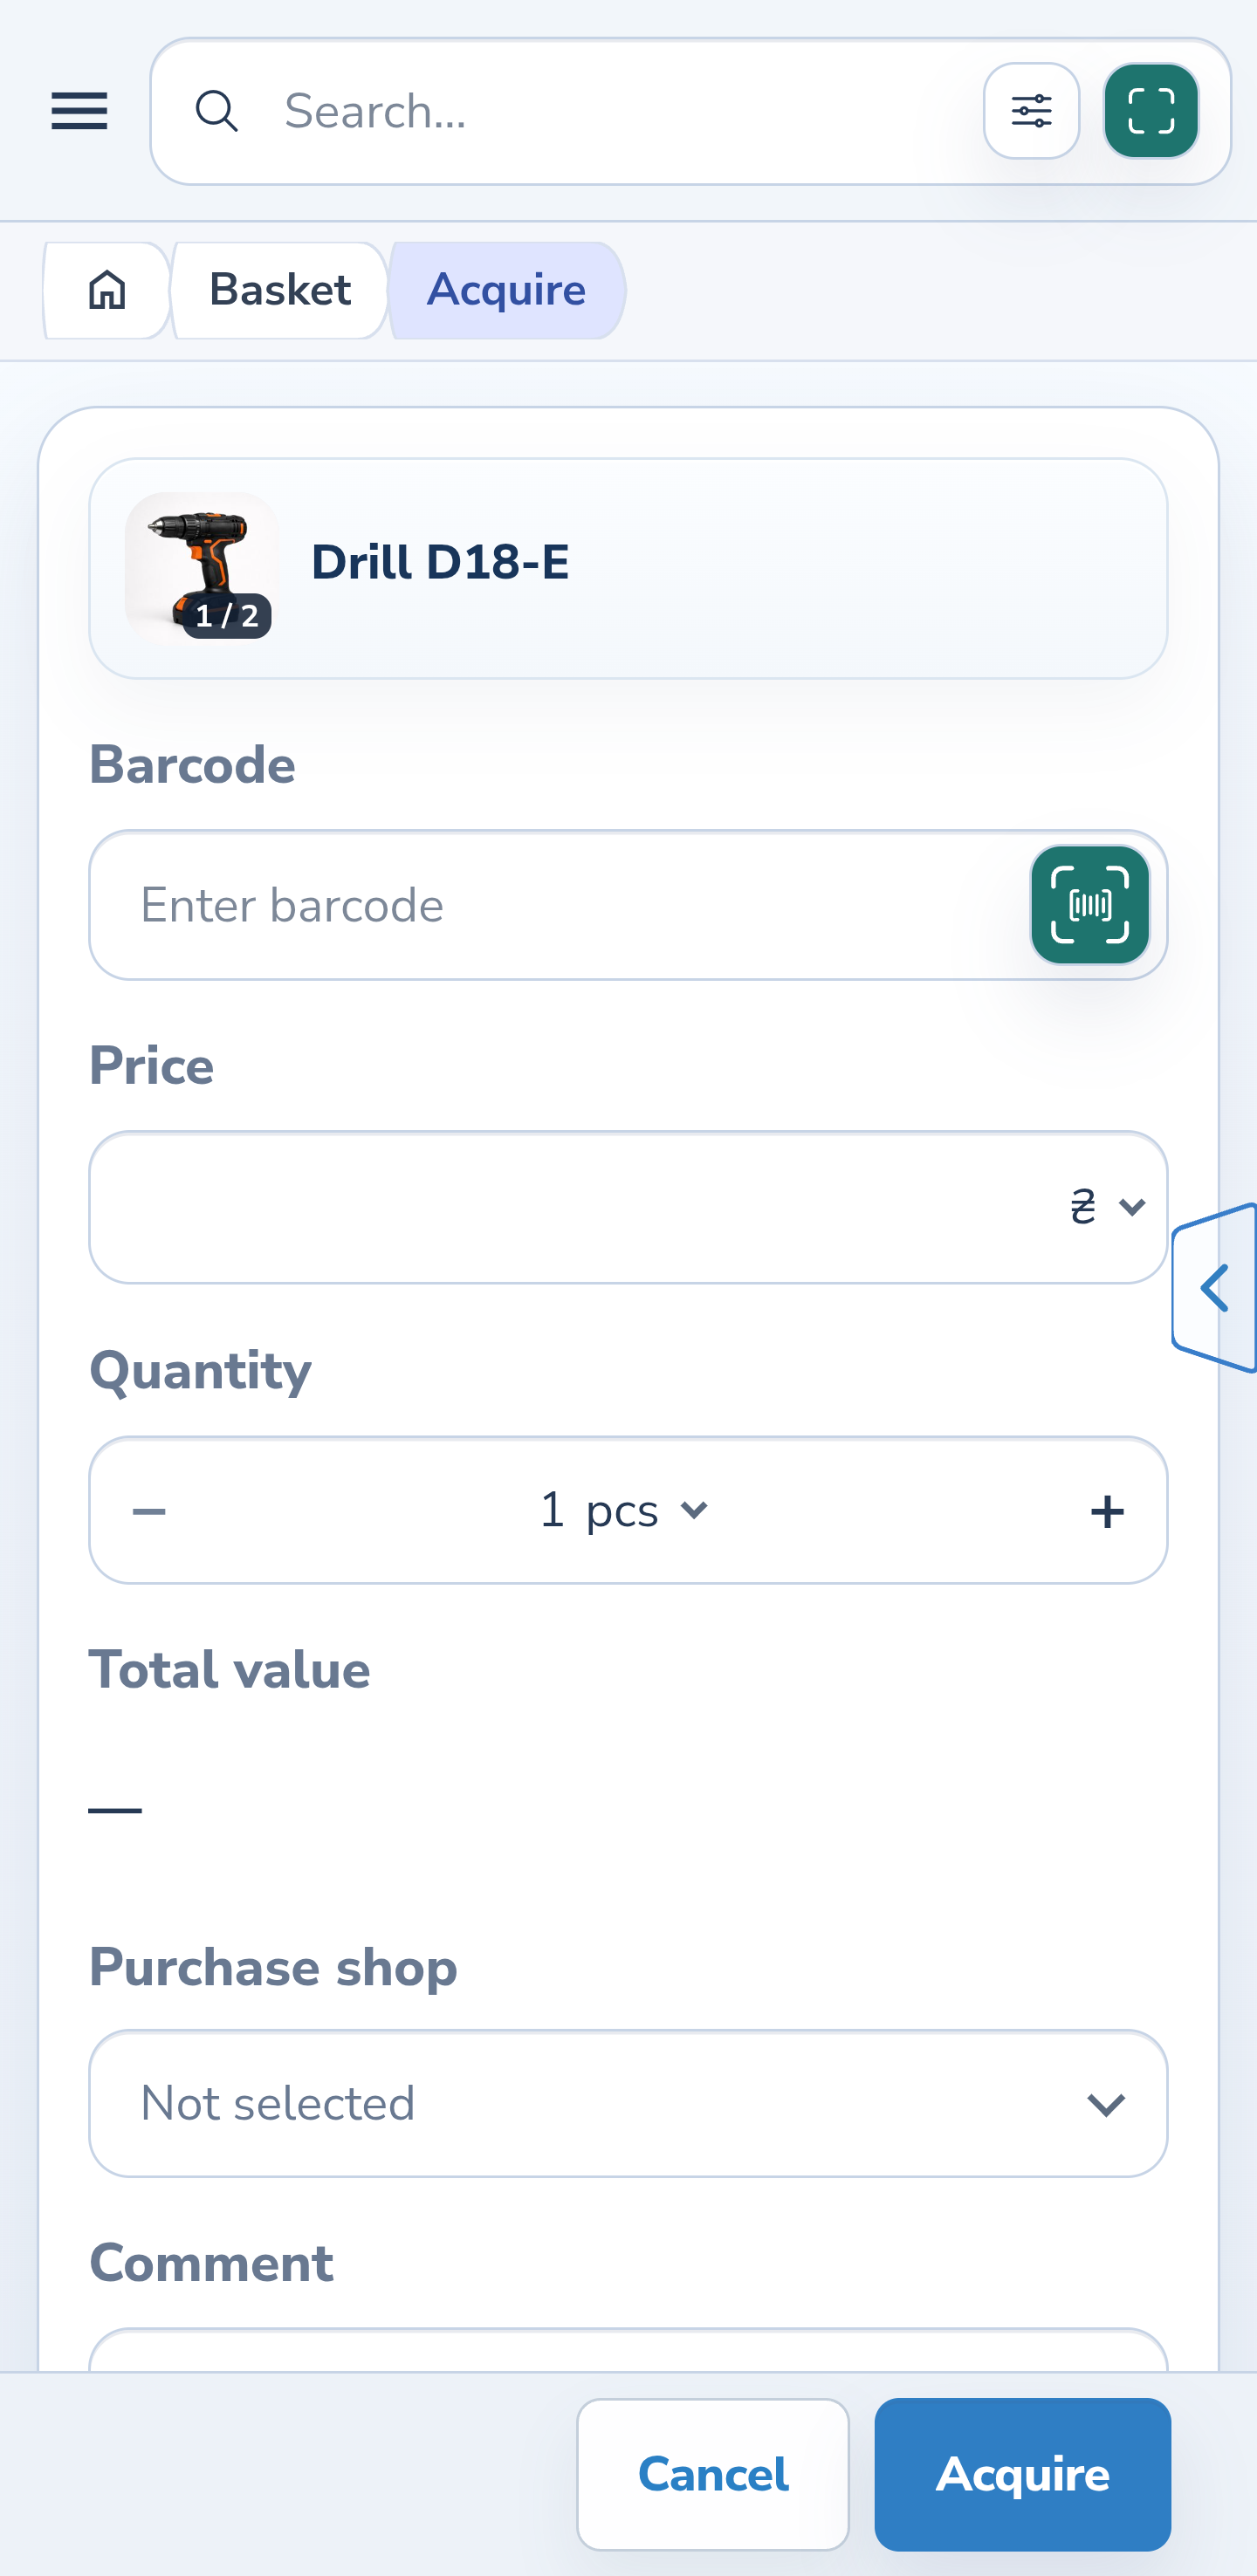
In Basket, open the shopping request’s action menu and select Acquire. Check the name and main photo at the top of the form. A “1 / 2” badge means that two images are saved.
Choose an existing shop or create one from the shop field. If an active shop already has that name, select it in the dialog: the draft price and photos stay in place. The related shops guide explains the steps and how to restore an archived shop.
Website
Android
2. Browse the saved photos
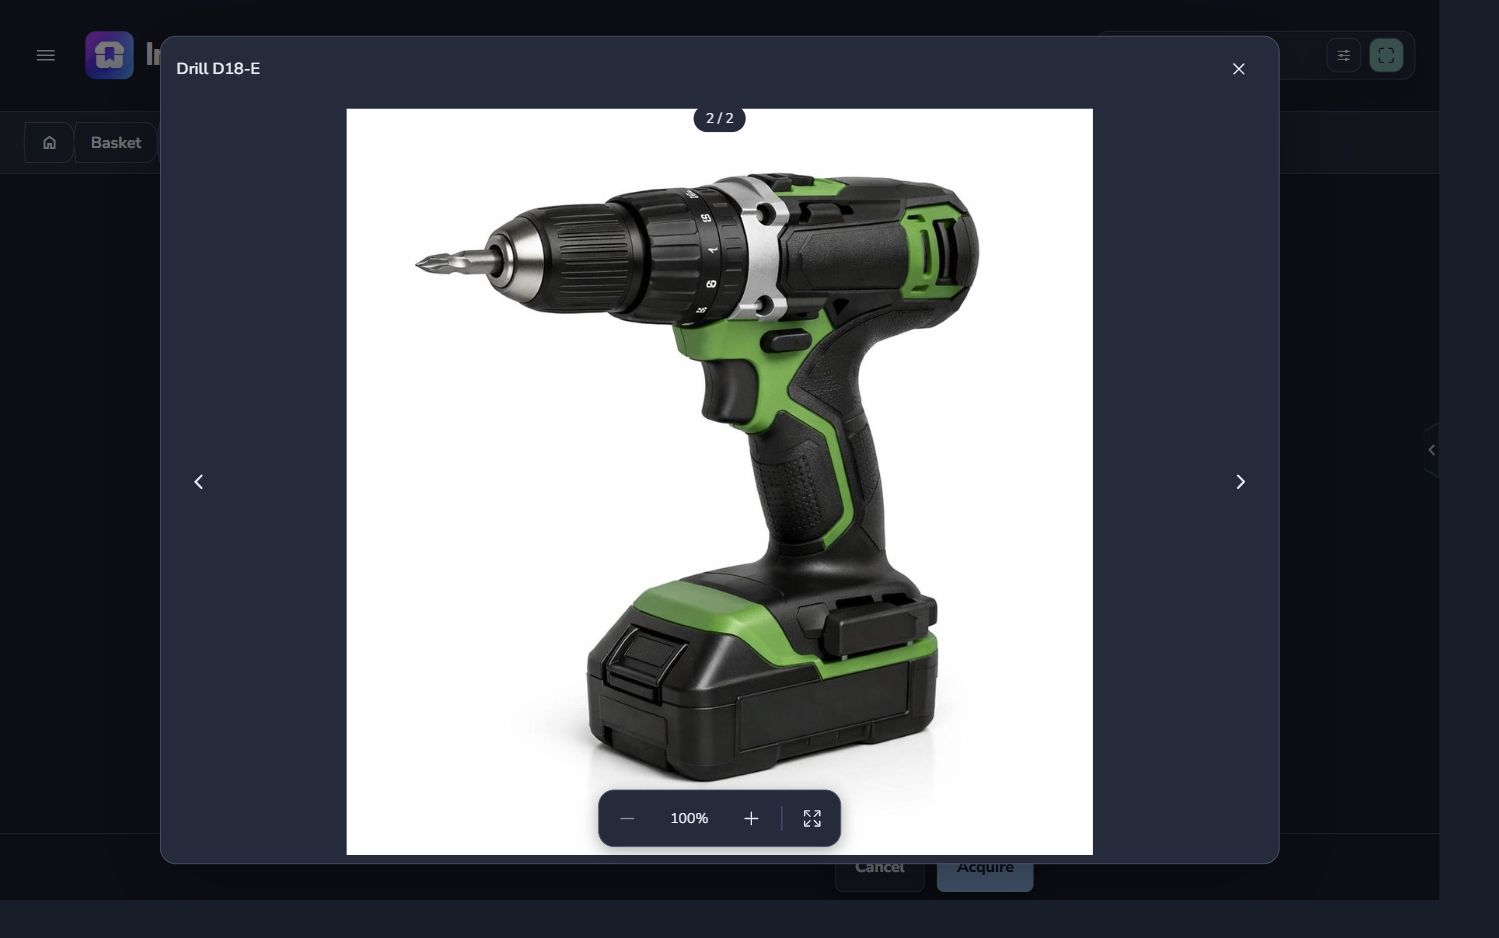
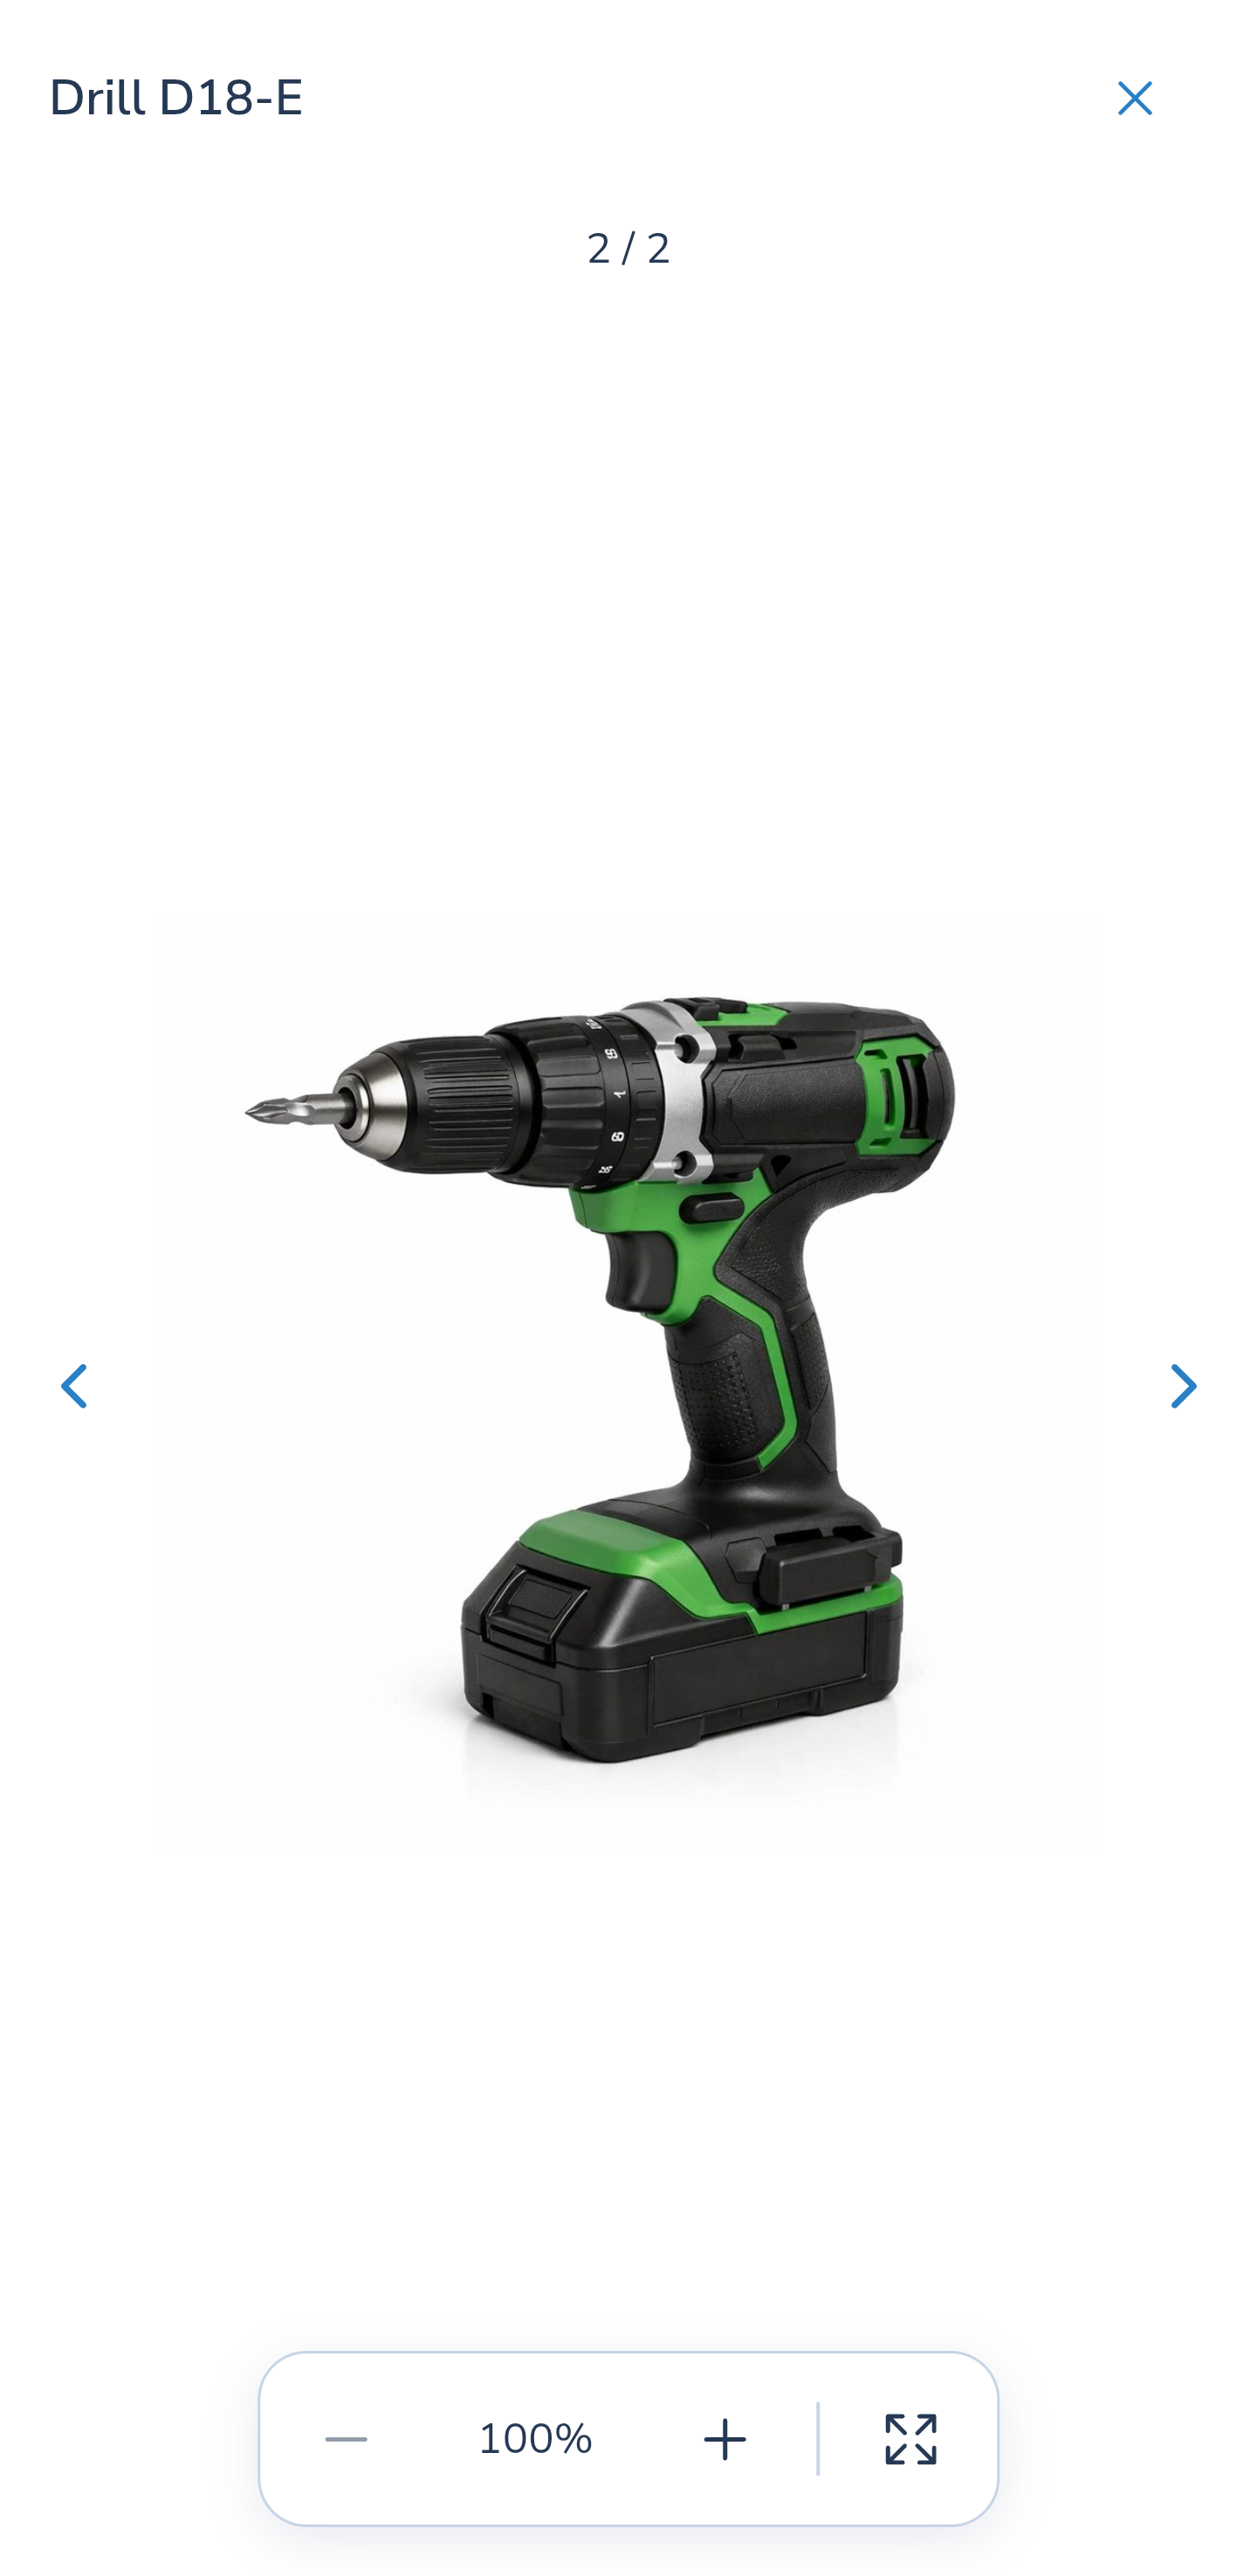
On both platforms, select the product photo button in the Acquire form. A 1 / 2 badge means two photos are available. The example below demonstrates this entry point.
Select the previous or next arrow. On Android, you can also swipe horizontally at 100% zoom. The counter identifies the current photo; navigation wraps from the last photo to the first. Changing photos resets zoom and pan.
Website
Android
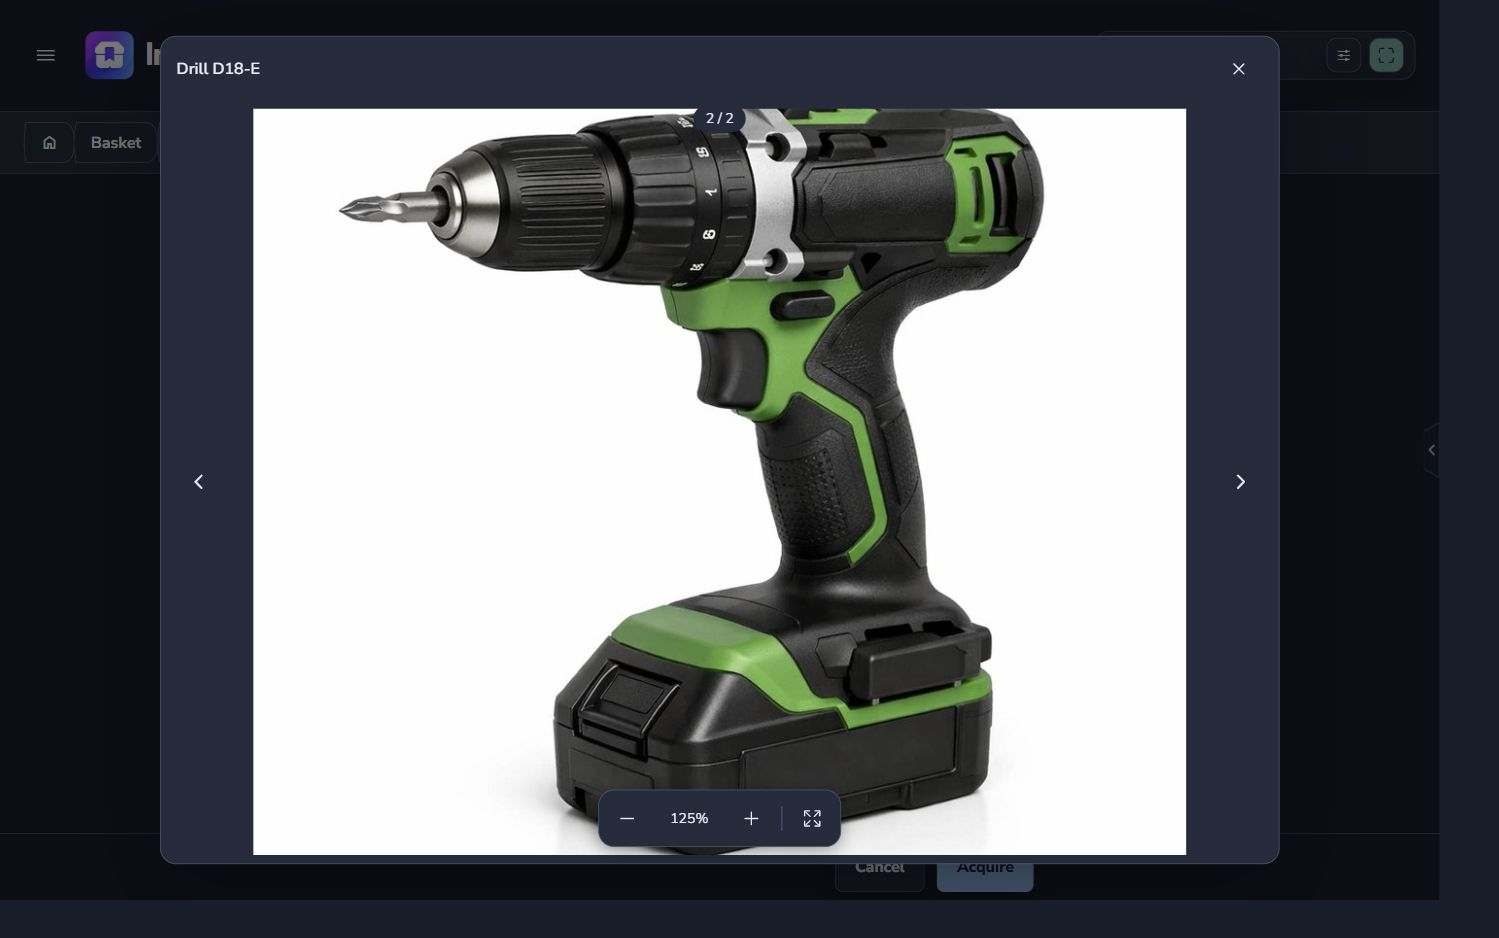
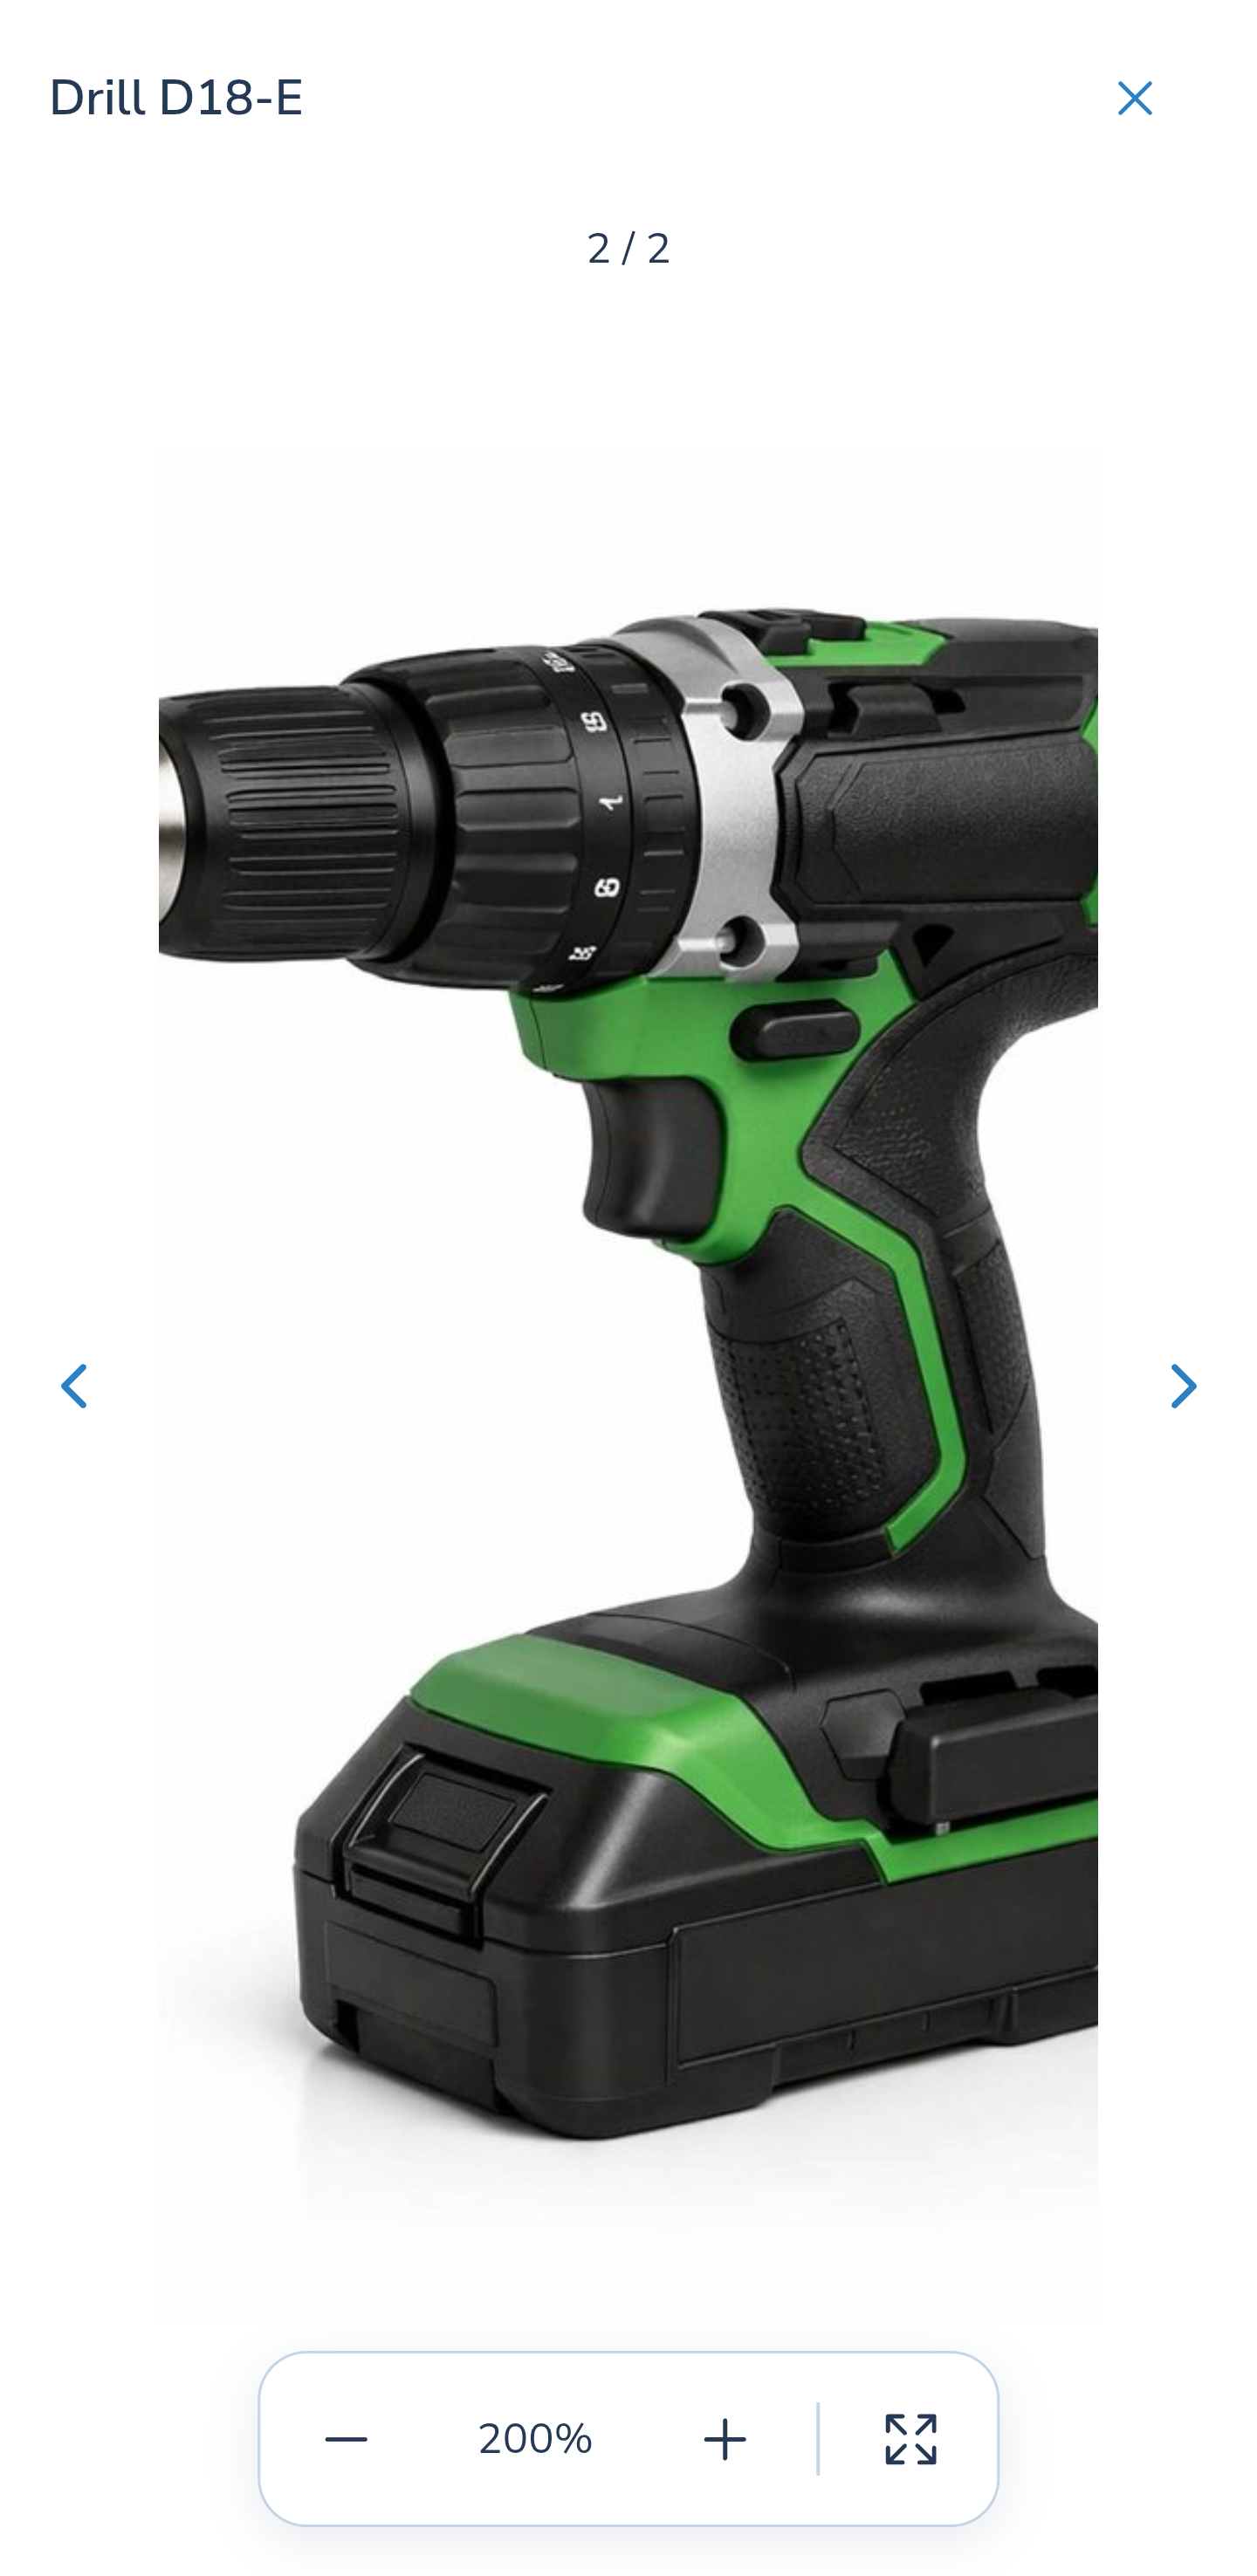
3. Zoom in and reset the scale
Use + and − to change the scale. Select the scale value to reset it to 100%. On Android, spread two fingers to zoom in or pinch them together to zoom out, between 100% and 500%. Enlarging an image cannot add detail missing from its original file.
Website
Android
4. Hide controls for an unobstructed view
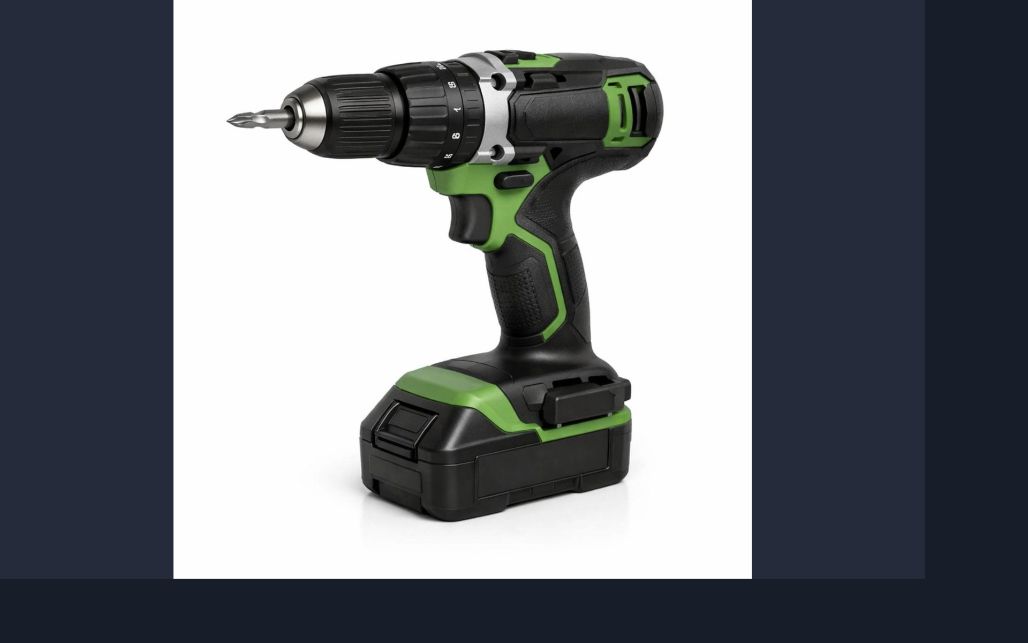
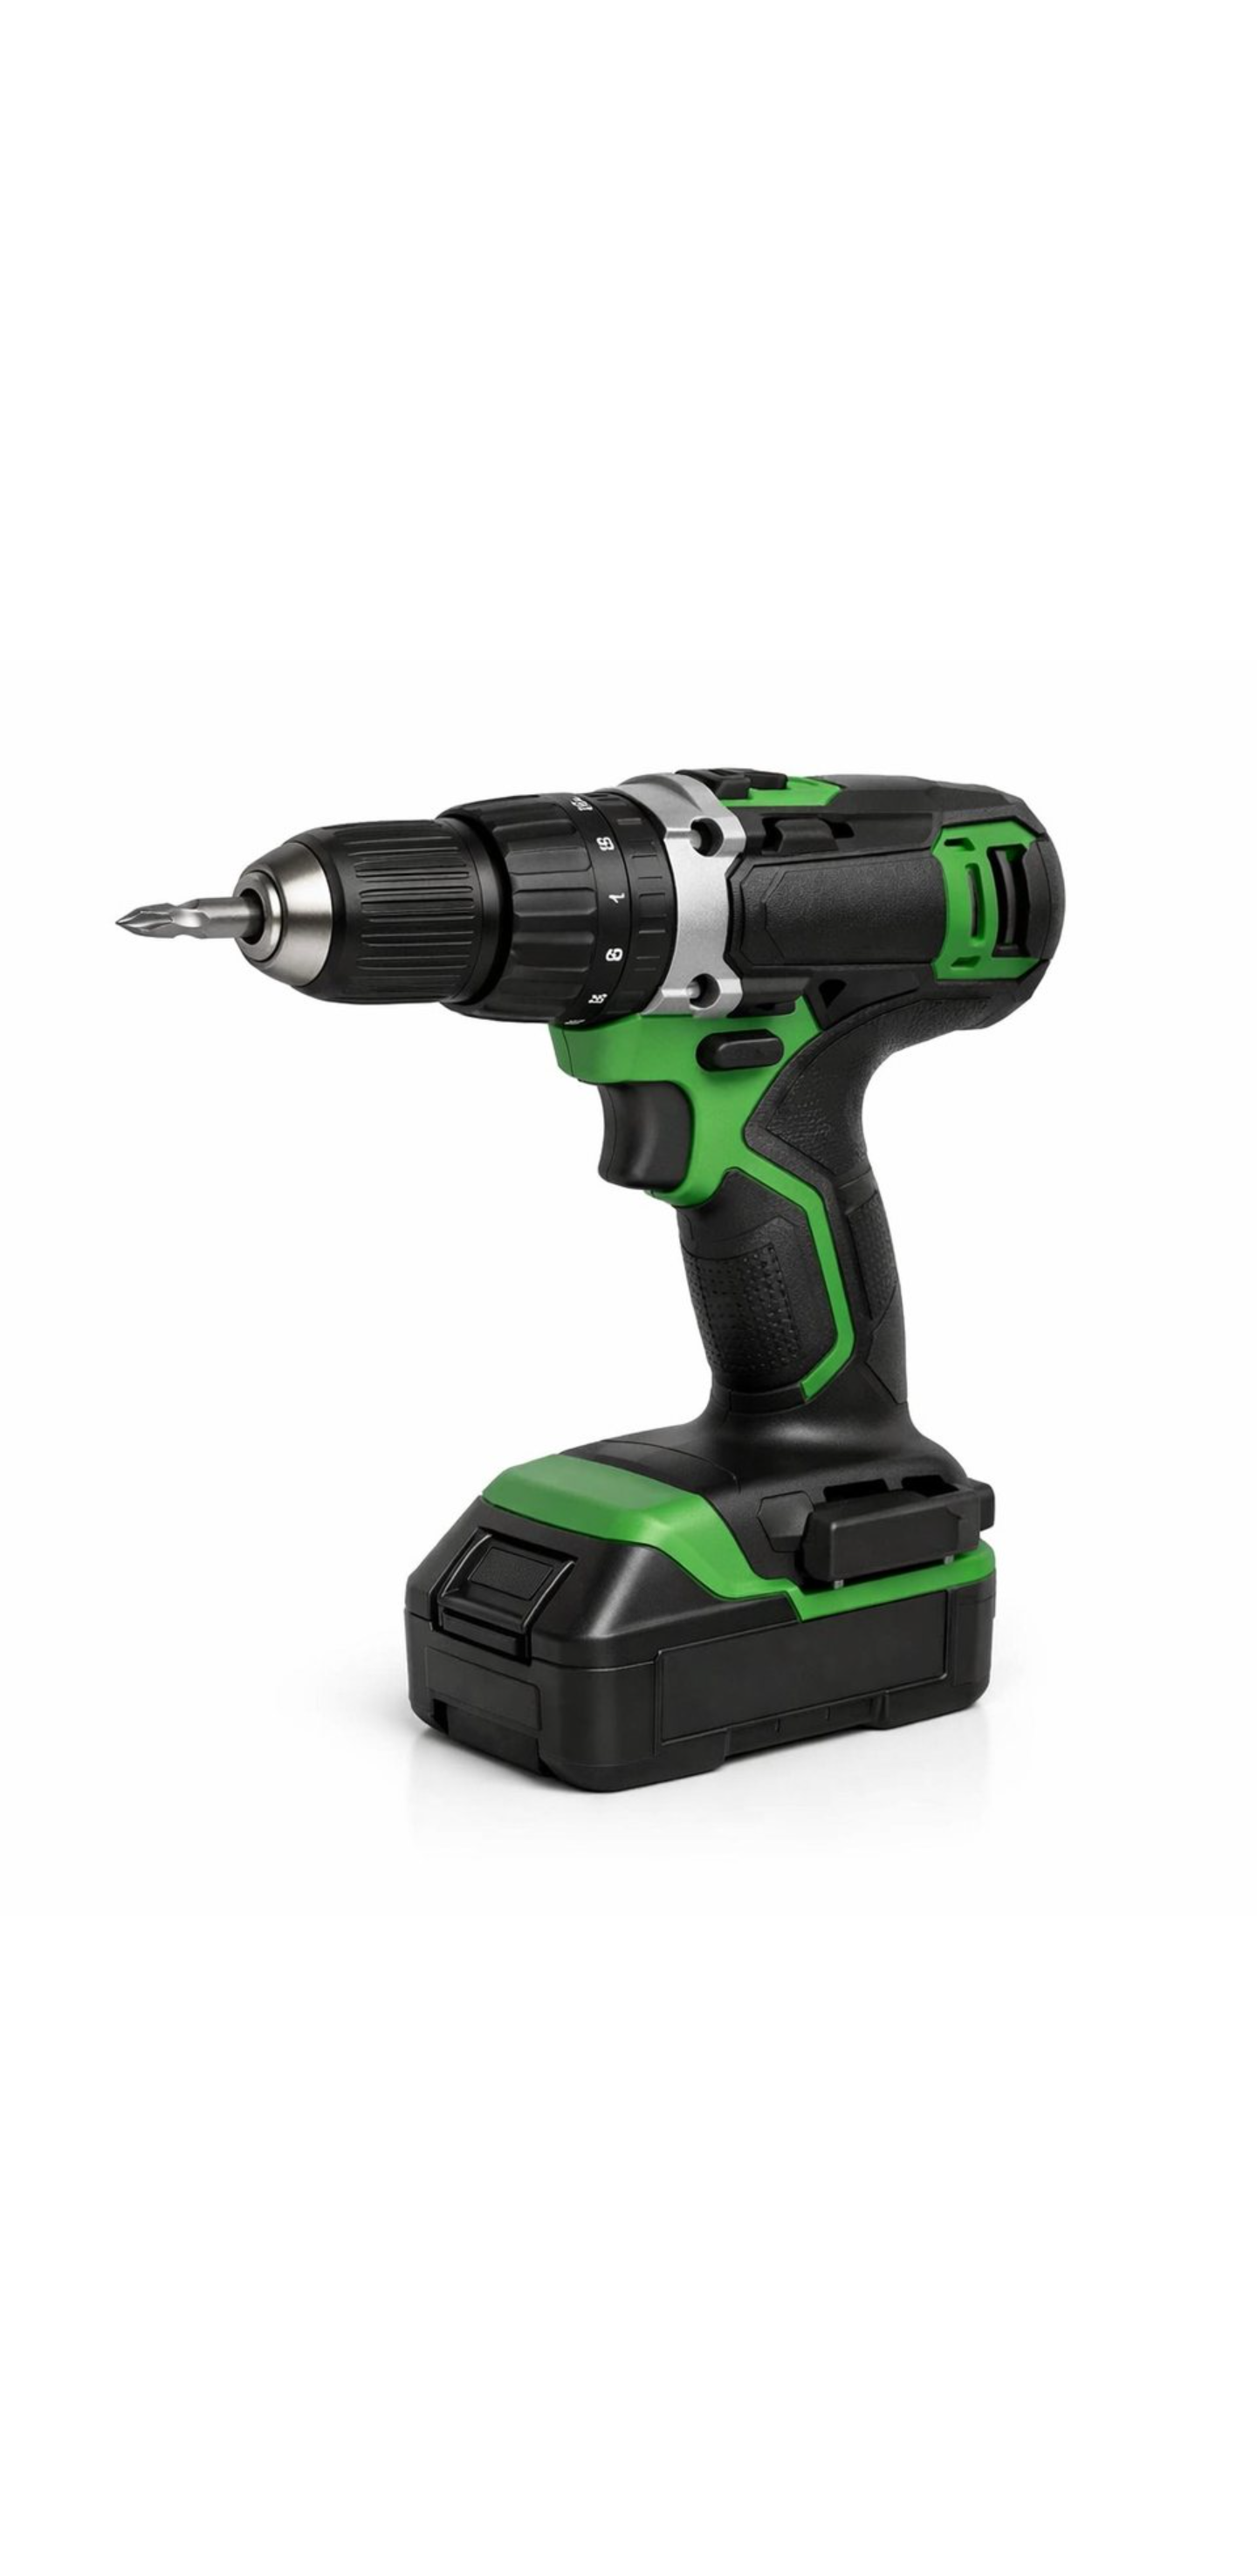
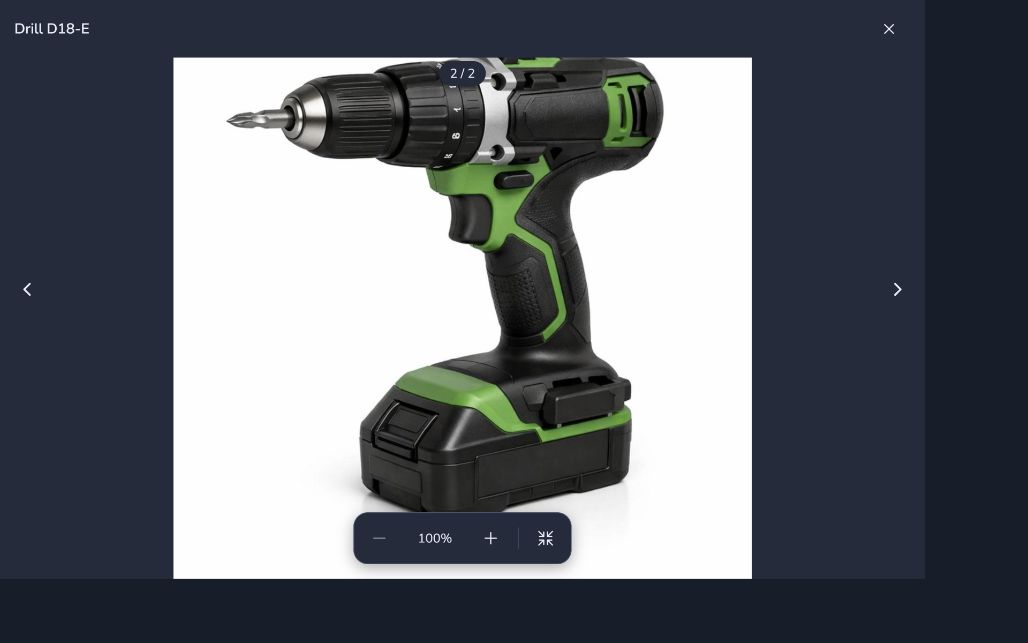
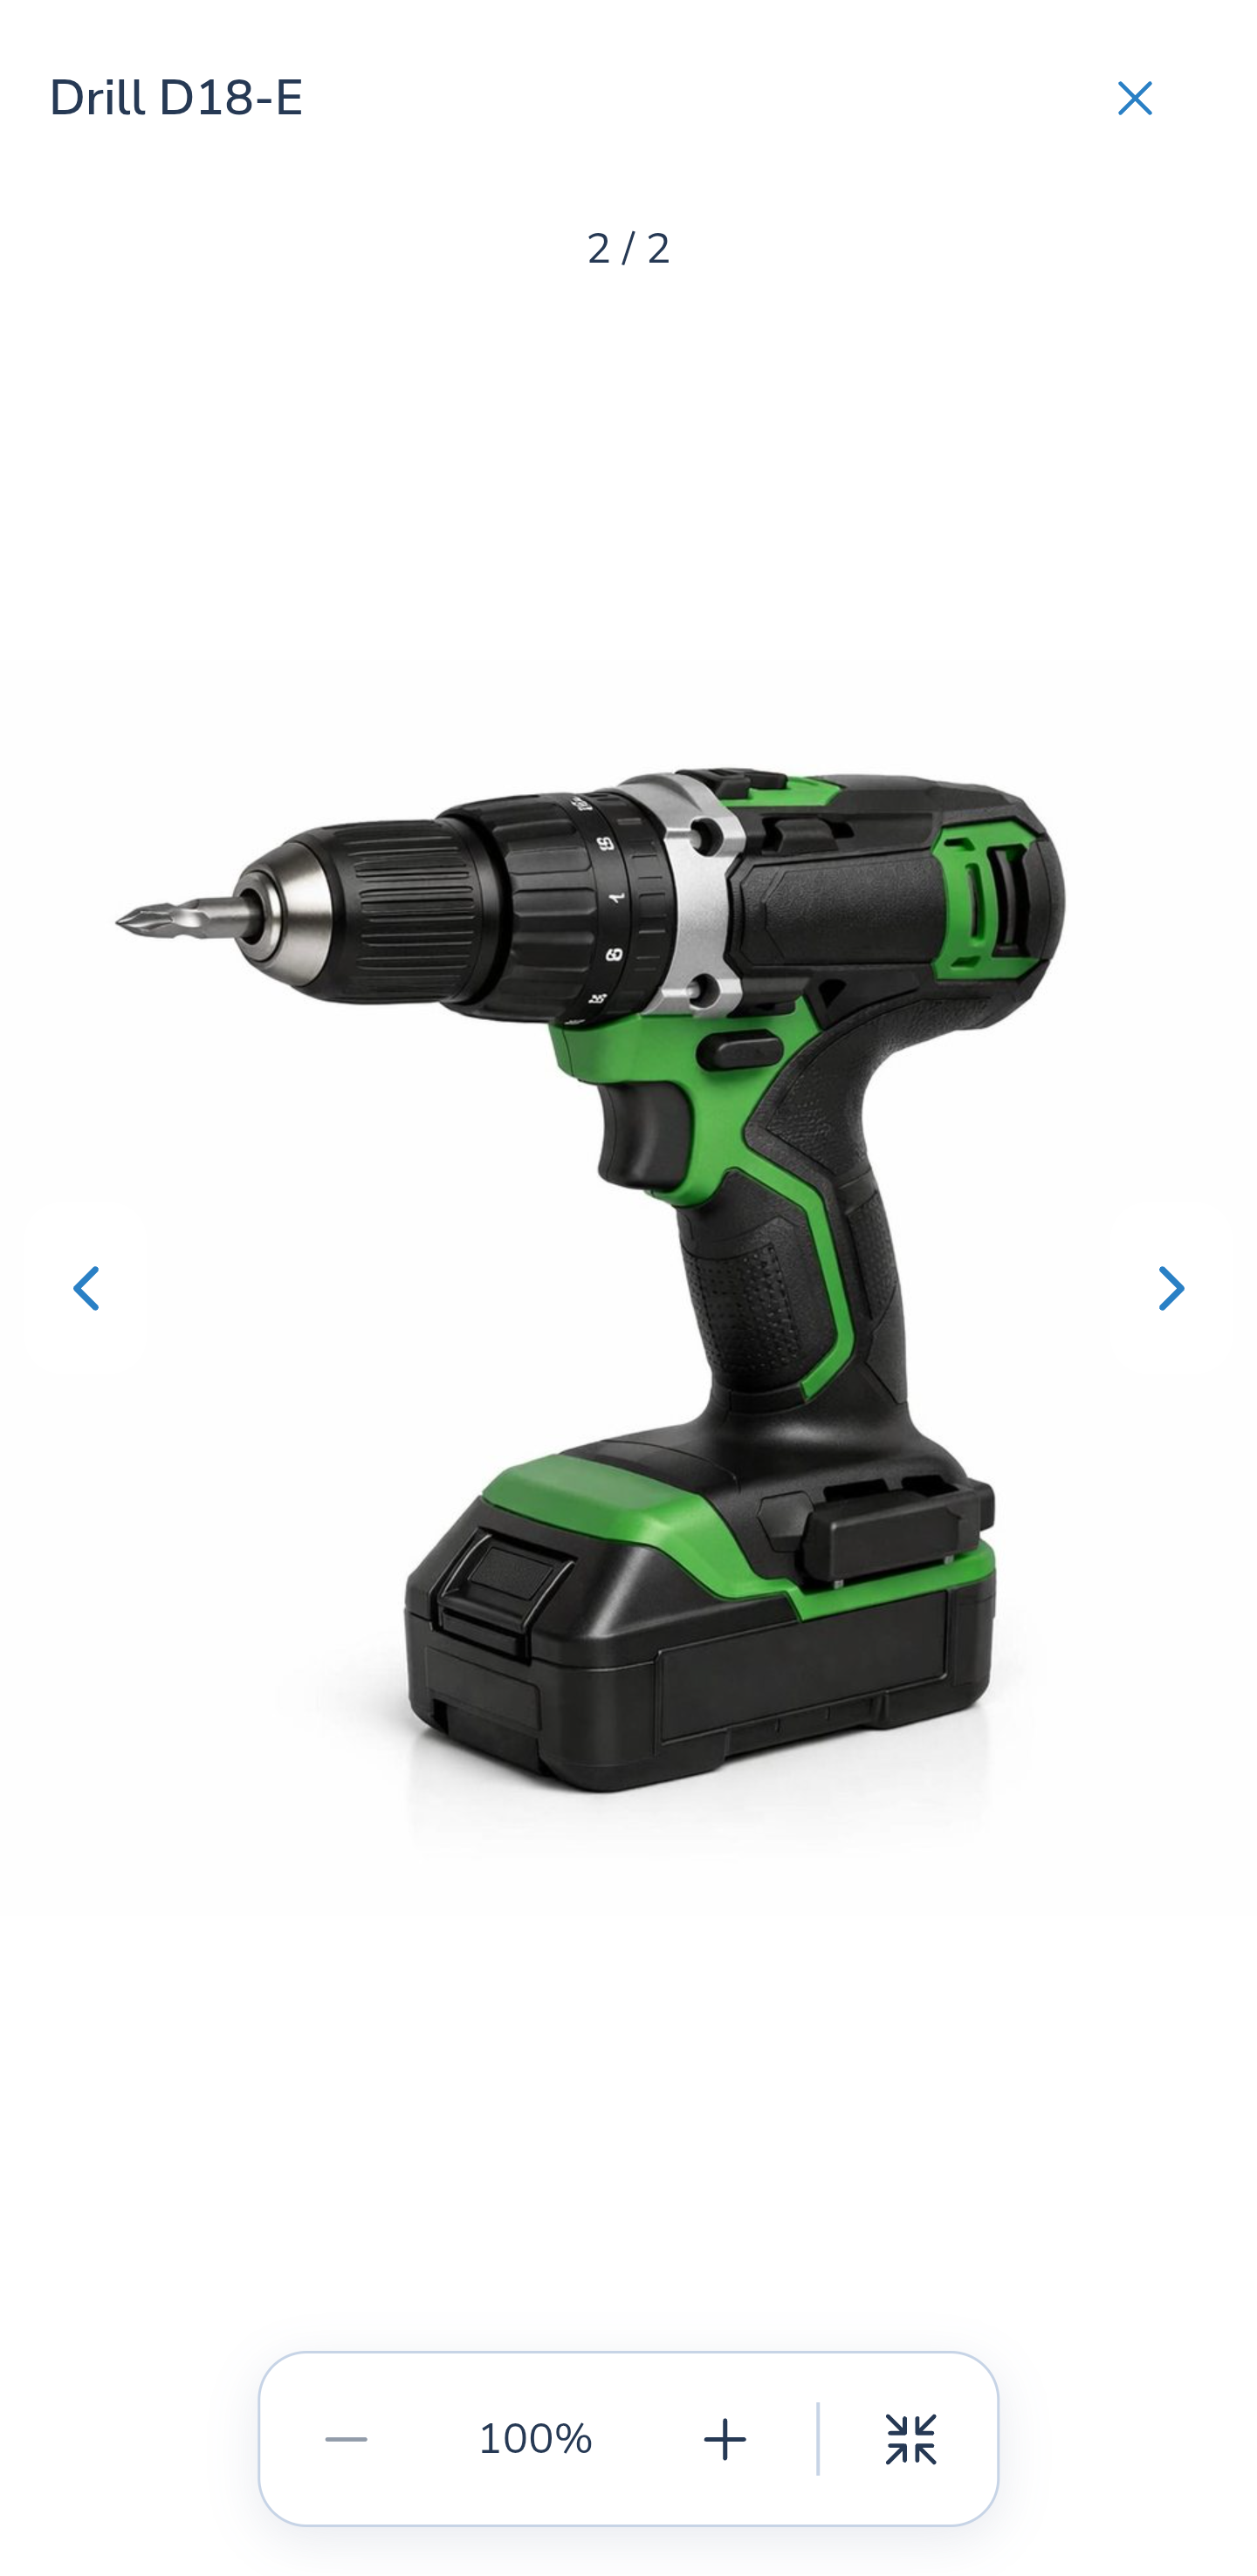
Select the expand button beside the scale. Fullscreen initially hides the heading, arrows, counter and toolbar. The image fits within the available area.
Tap or click the photo to show controls over it; tap again to hide them. The overlays do not change the image scale. On a computer, Tab also makes the controls accessible.
The website uses browser fullscreen where available. On Android, the gallery fills the application viewport while system bars remain visible. System bars are cropped from the illustrations; the application interface is preserved.
In fullscreen, the first Escape on a computer or Back on Android returns to the normal gallery. The second closes it. You can also reveal the toolbar and use Exit fullscreen, or close the gallery with ×. Viewing photos does not record a purchase or change quantities.
Website
Android
Website
Android
5. Check an automatic shopping request
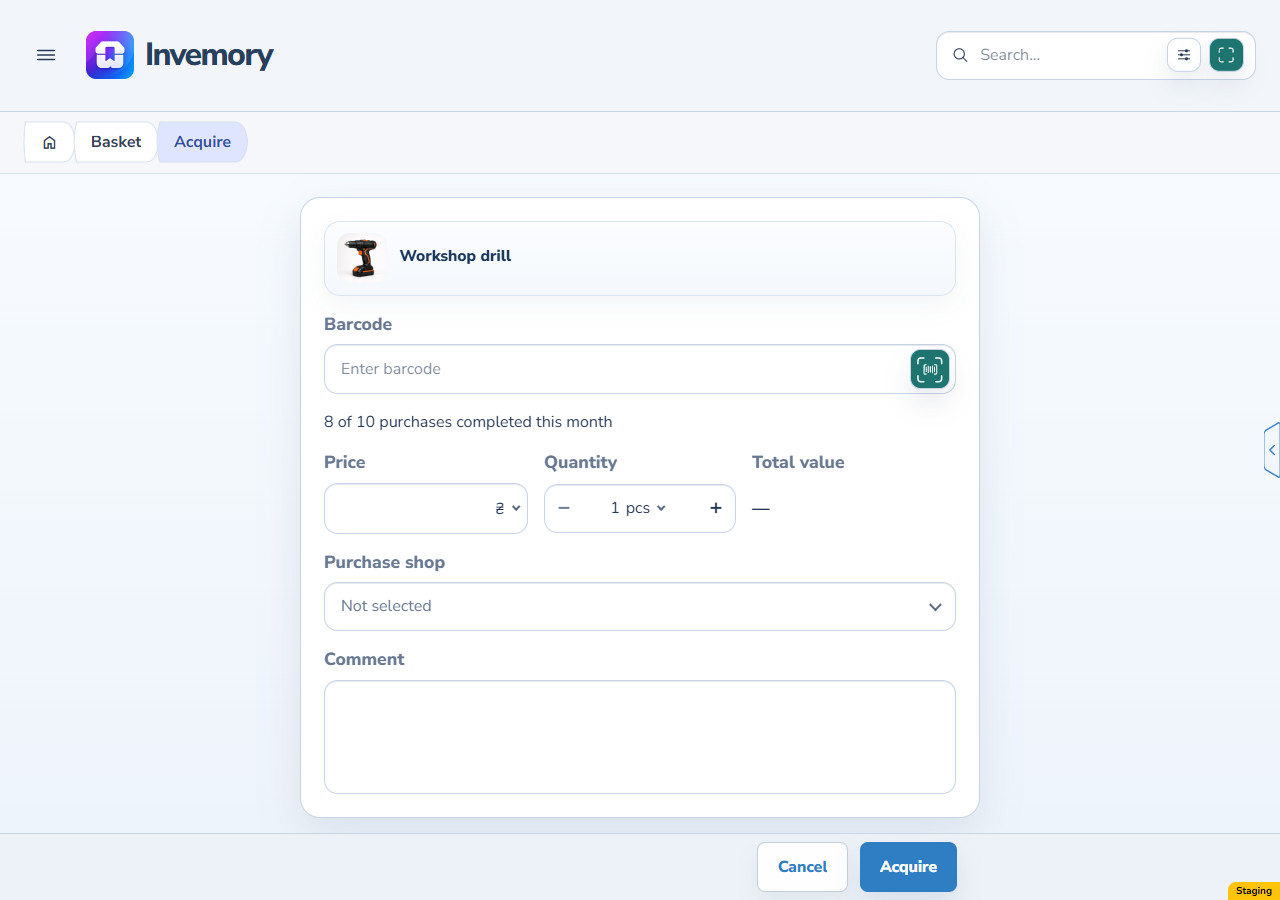
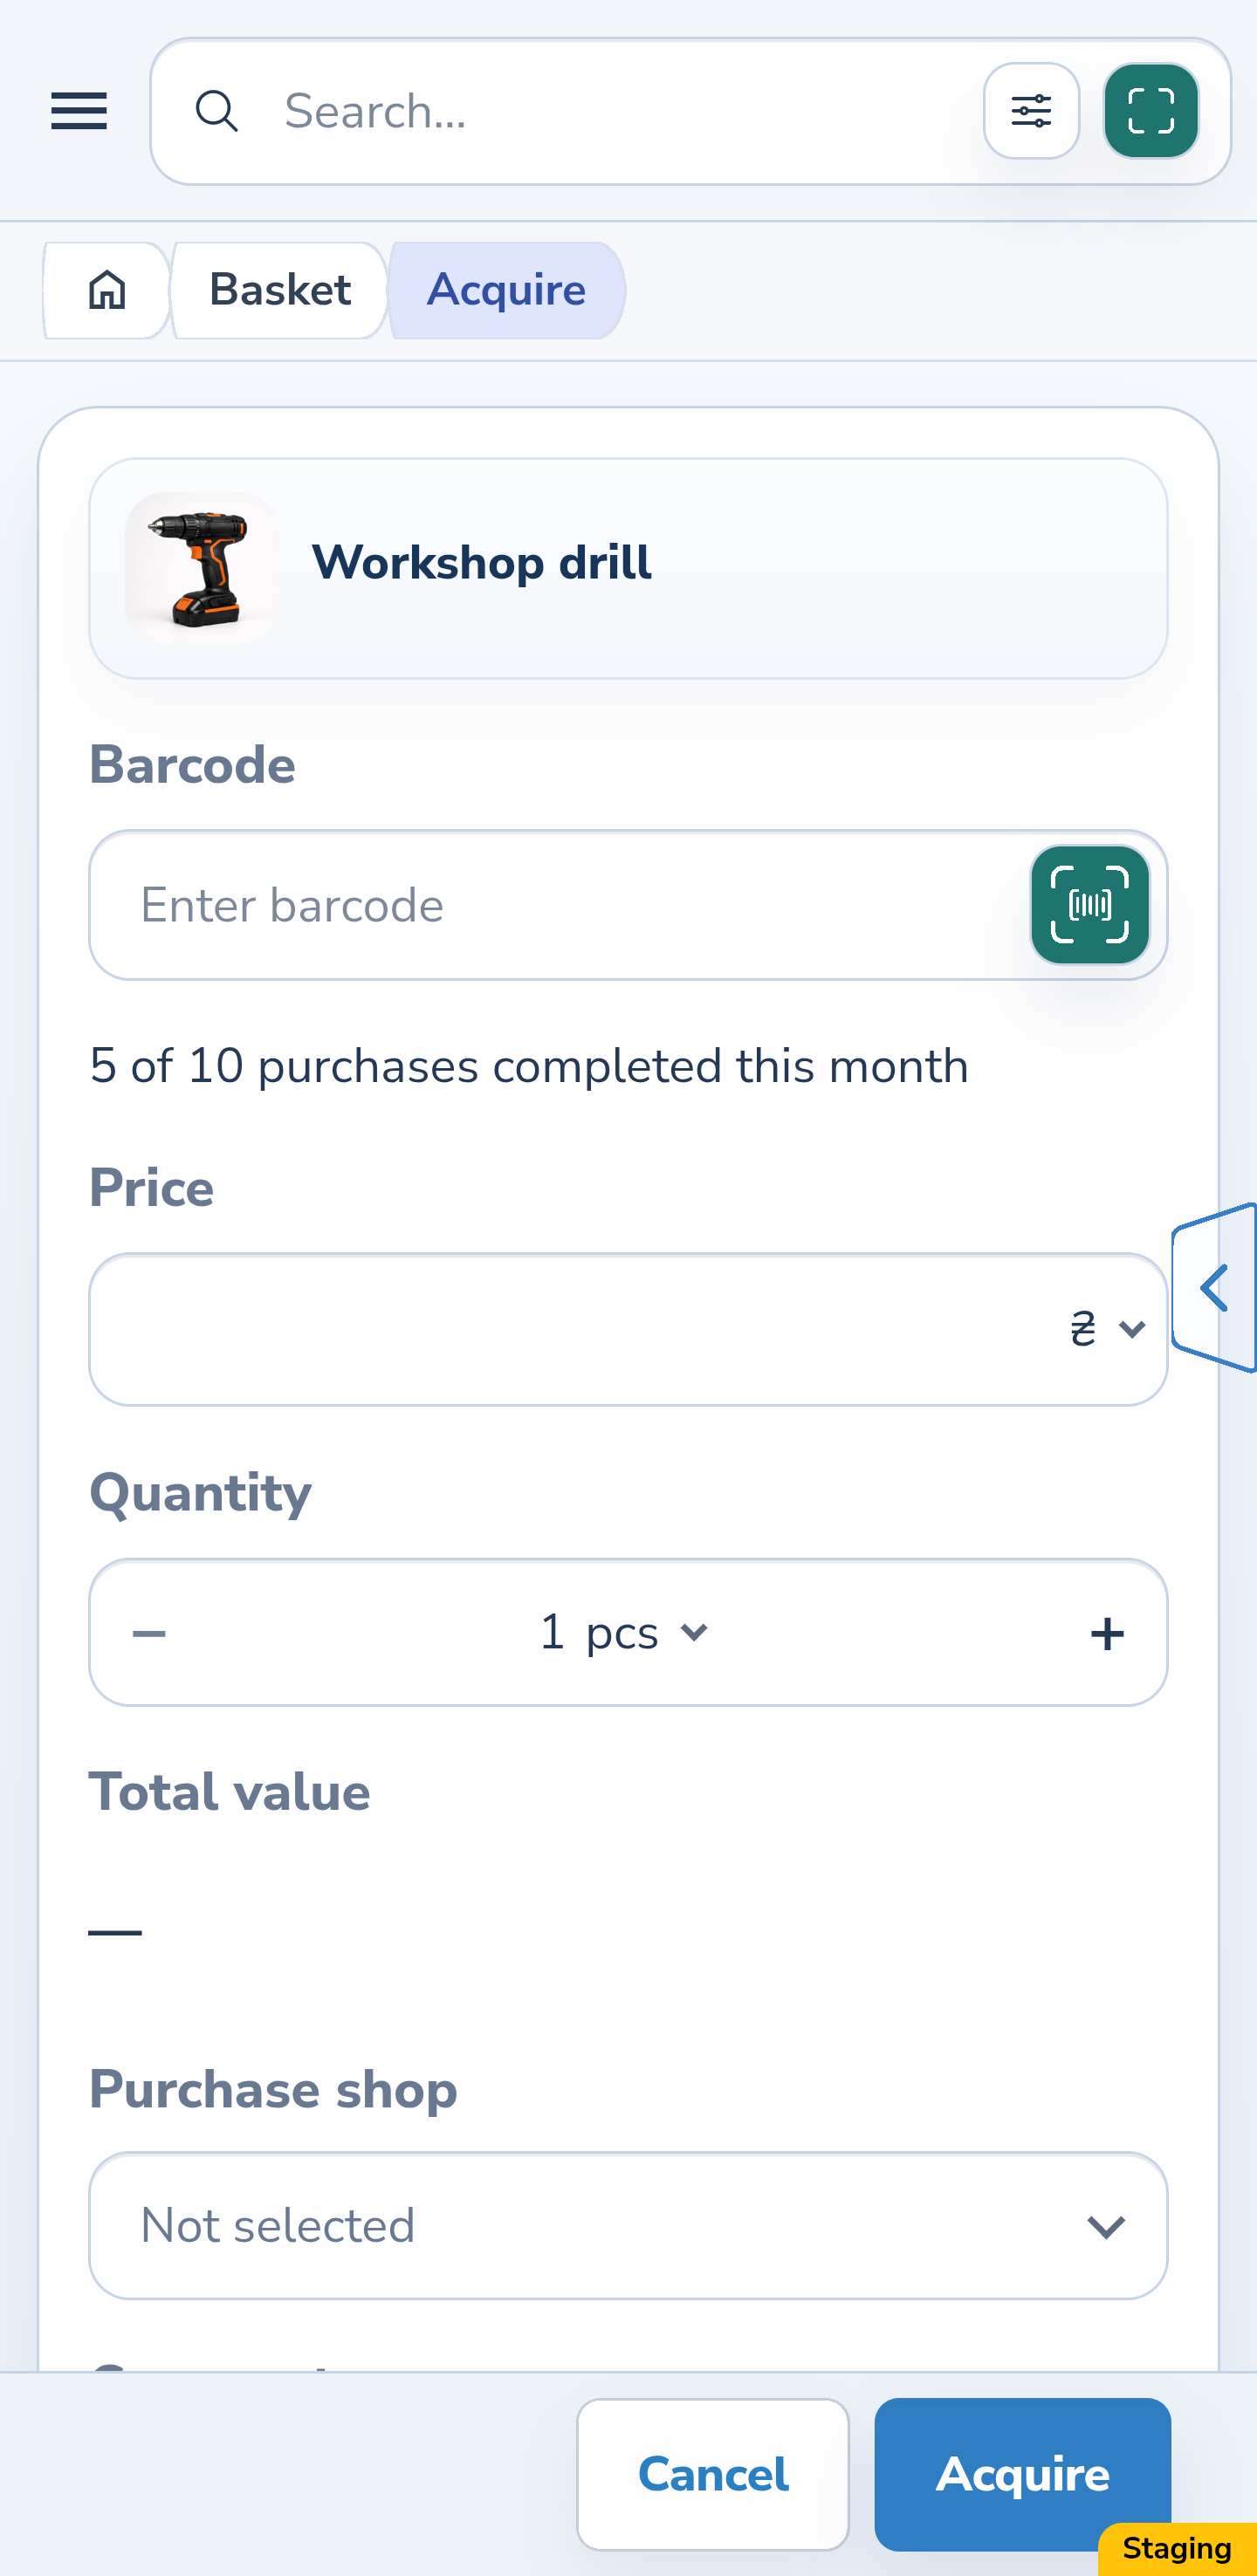
The same screen works for a shopping request created by stock tracking. Check its name and available photo before acquisition, just as with a manual shopping request. A single saved photo has no multiple-photo counter.
Website
Android
6. Use the name when there is no photo
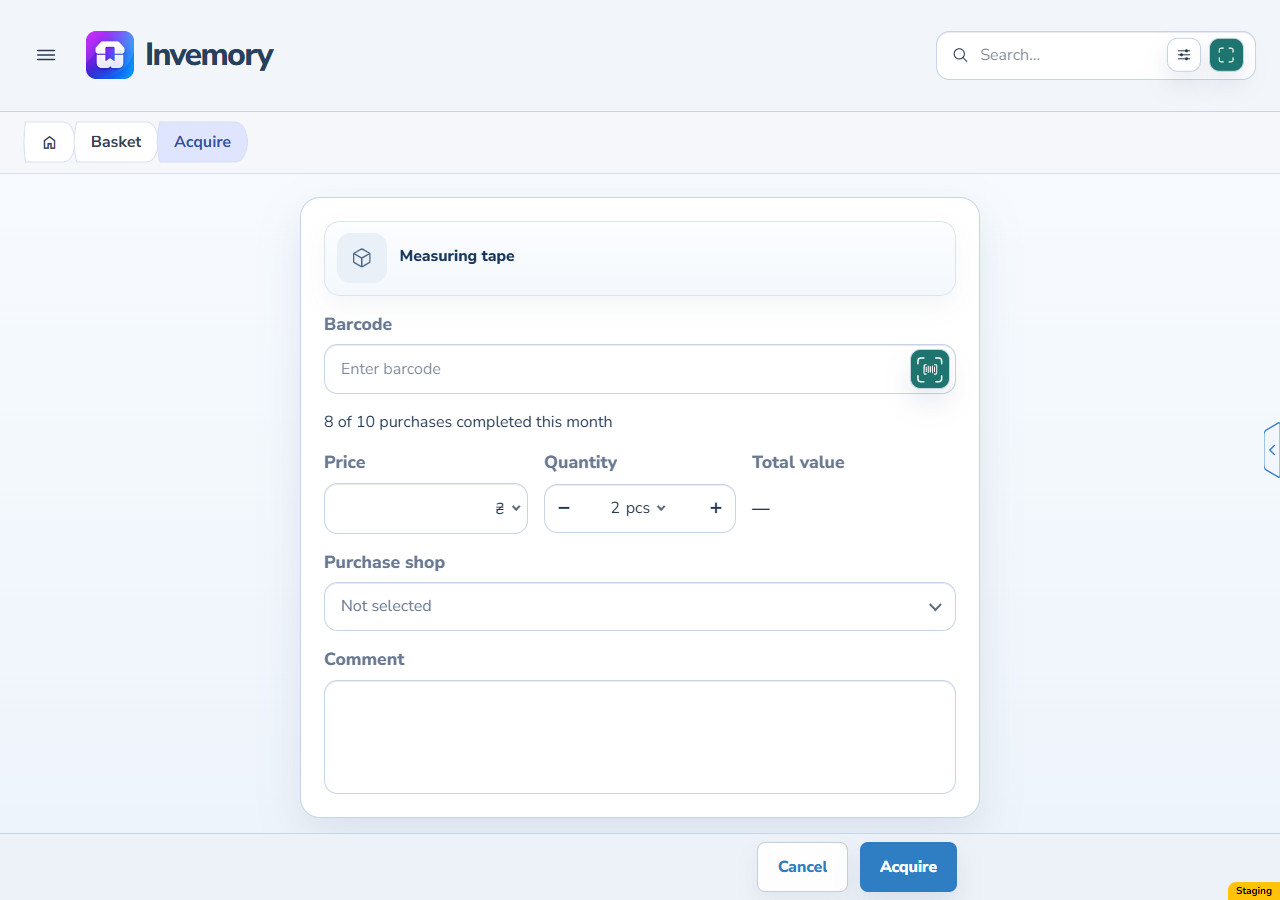
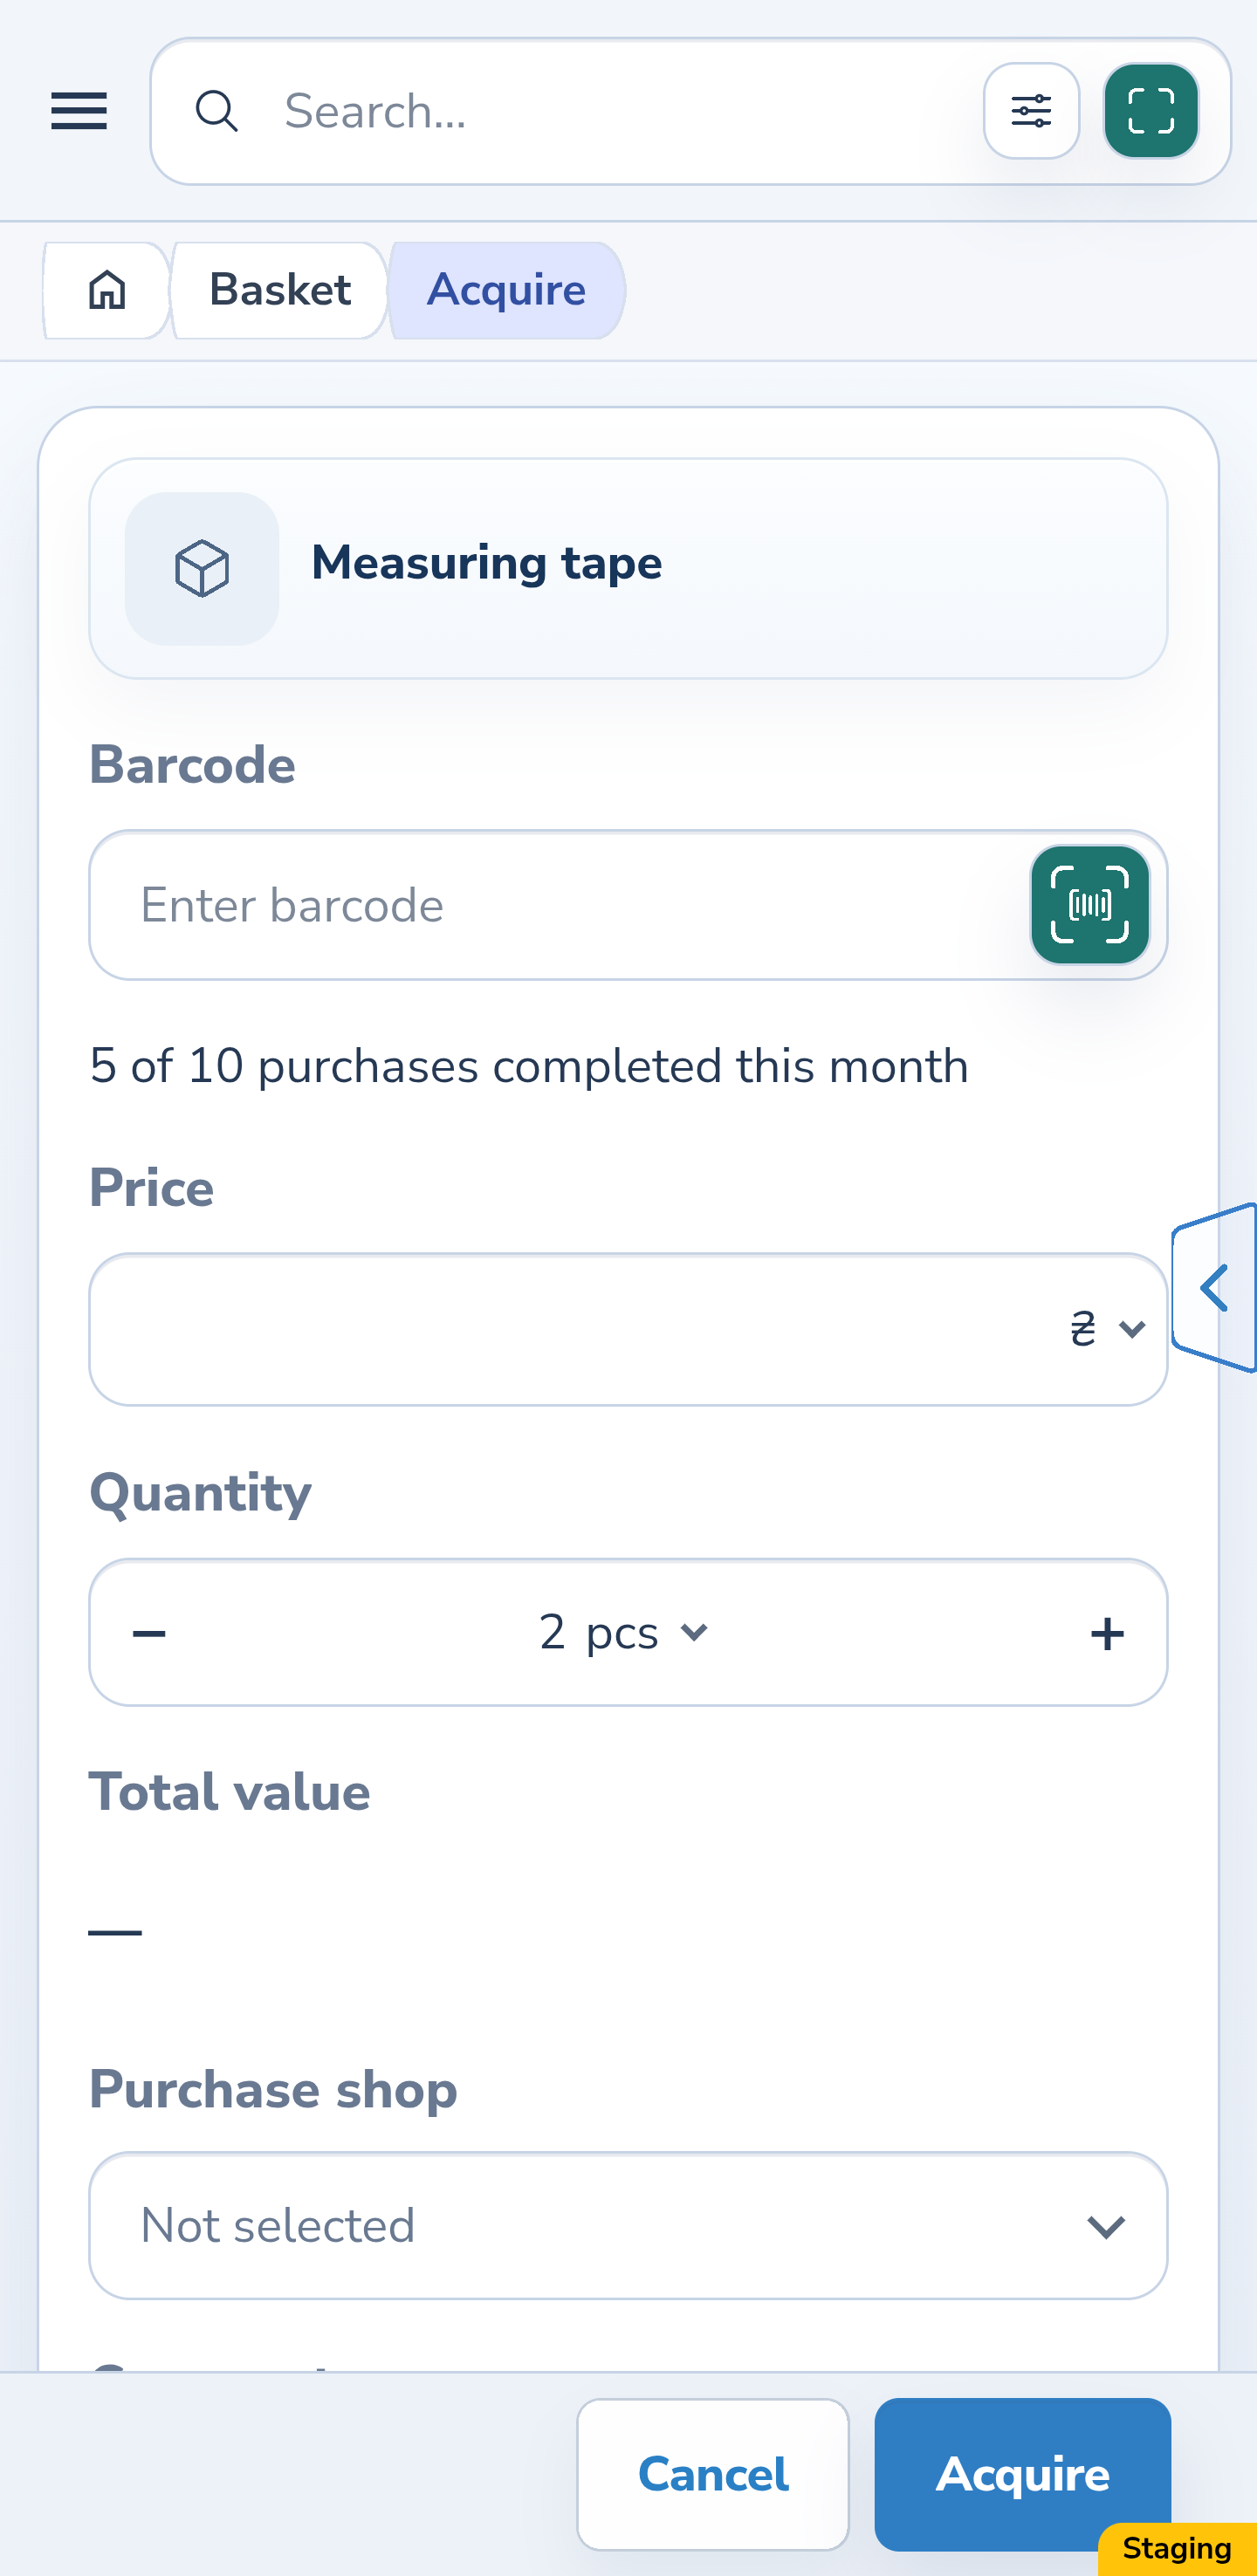
When no photos are saved, a standard cube icon appears instead. The example shows a measuring tape. Check the name; the icon itself does not prevent acquisition.
Website
Android
7. Continue the acquisition
Check the actual quantity and unit. You may enter a price and currency if known. Select Acquire to save the purchase; its acquired stock appears in Basket. The gallery is for viewing: this screen does not edit or upload photos.
The result
You have checked the product’s name and available photos and can continue its acquisition.
Useful to know
- Check both the name and image when identifying a product.
- Prepare photo changes in the relevant editor before opening acquisition.
- For zoom, browsing and closing, follow “How to view and enlarge photos” in the related guides below.
Common questions
Are photos required?
No. A shopping request without a photo can be acquired; the form shows a cube icon.
You have checked the product’s name and available photos and can continue its acquisition.
Open basket